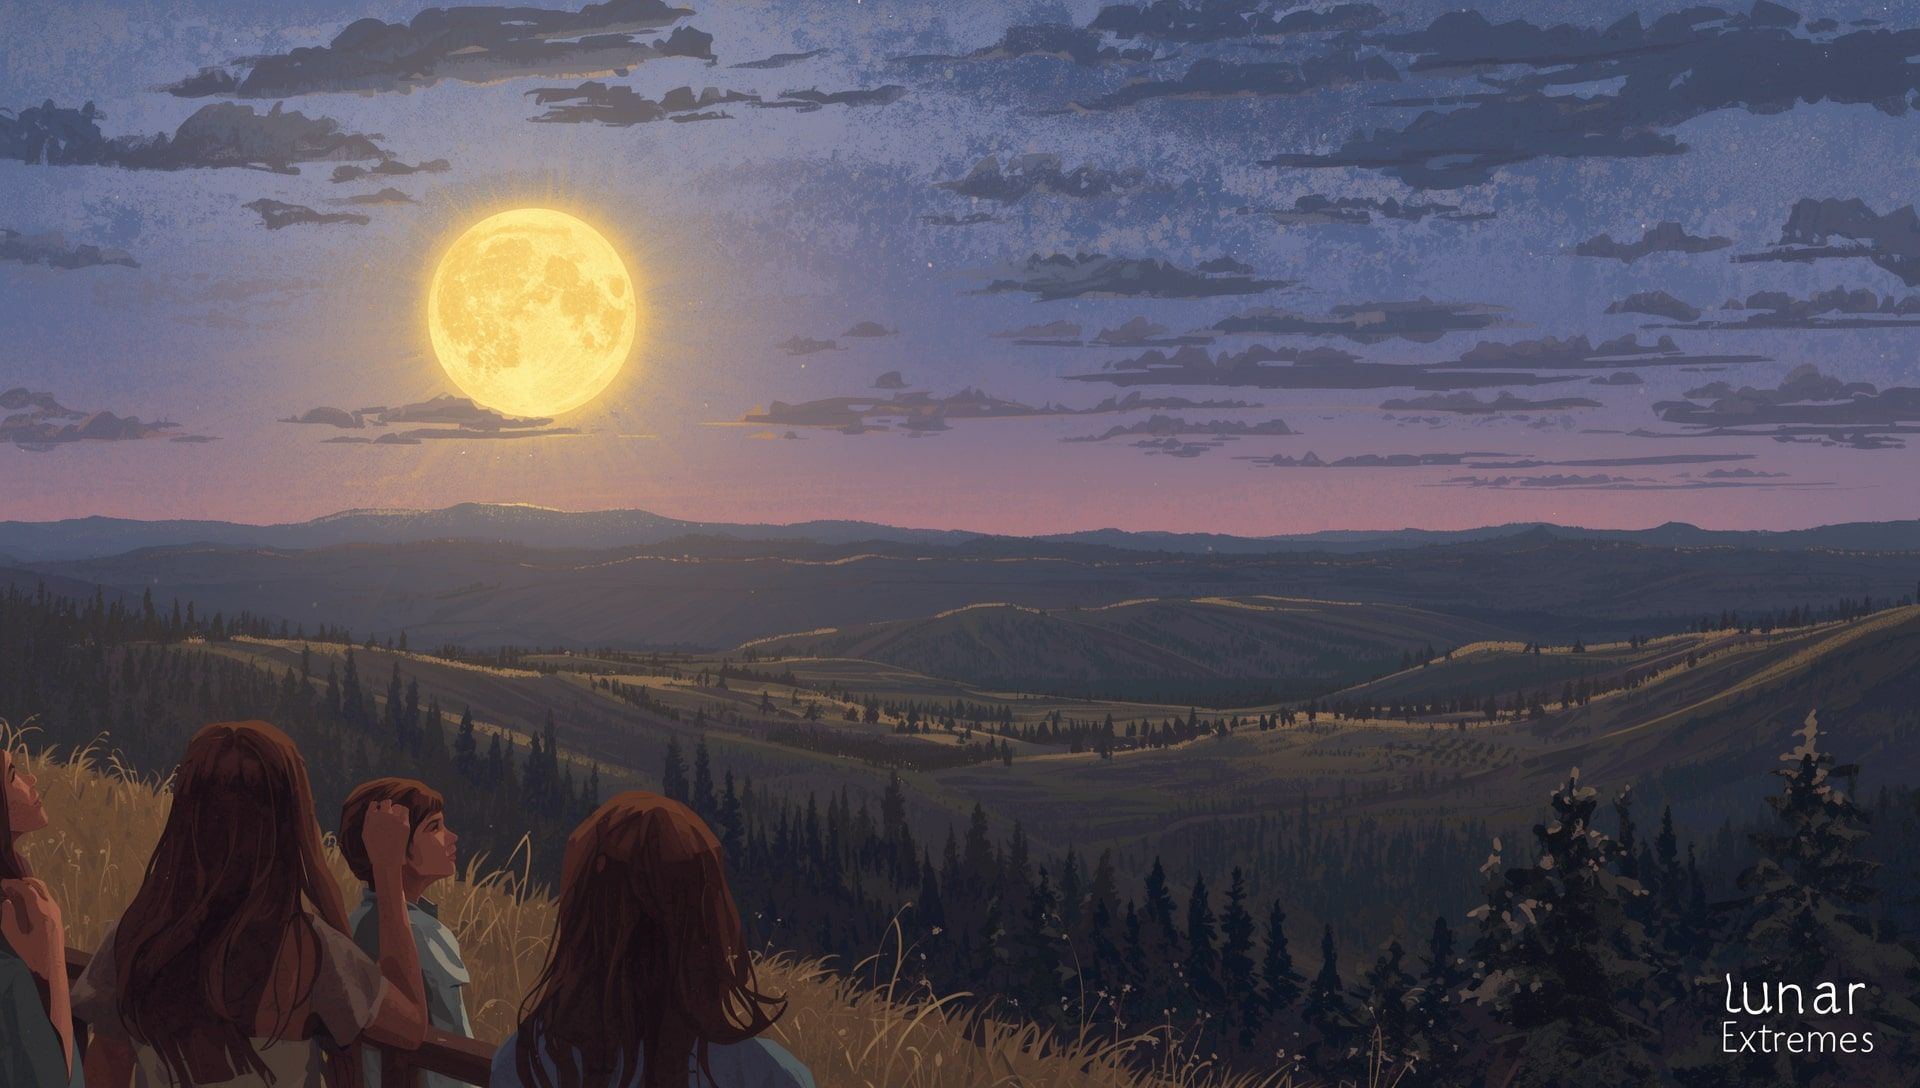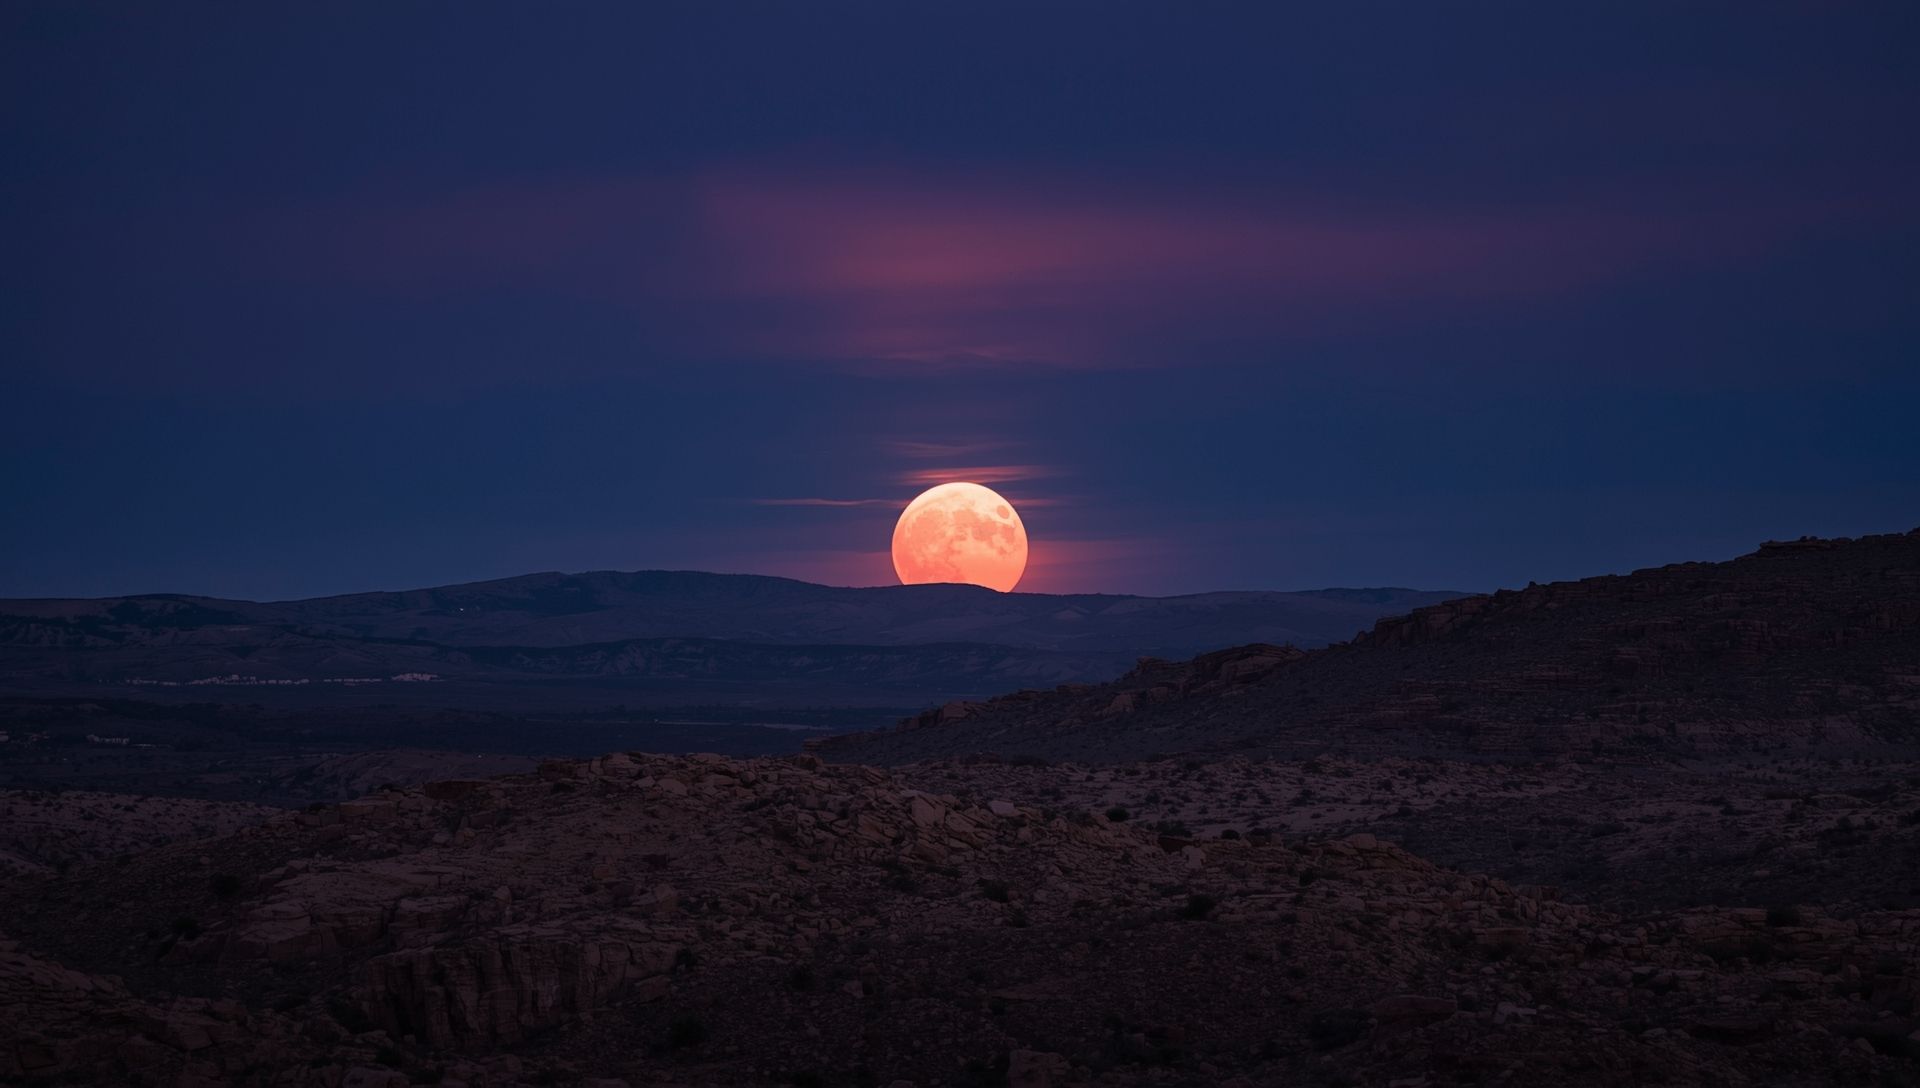
There’s something unreal about the Moon dipping below the horizon. The light is soft, the sky changes fast, and everything feels still. Capturing that moment with a camera? Totally possible and absolutely worth it.
Timing Is Everything
The best moonset photos happen during the golden or blue hour. That’s right before sunrise, when the light is warm but the Moon is still visible. Check your local moonset time the night before. Apps like PhotoPills or SkySafari can help pinpoint the exact moment. For extra precision, consult a time zone map to make sure your timing matches your region.
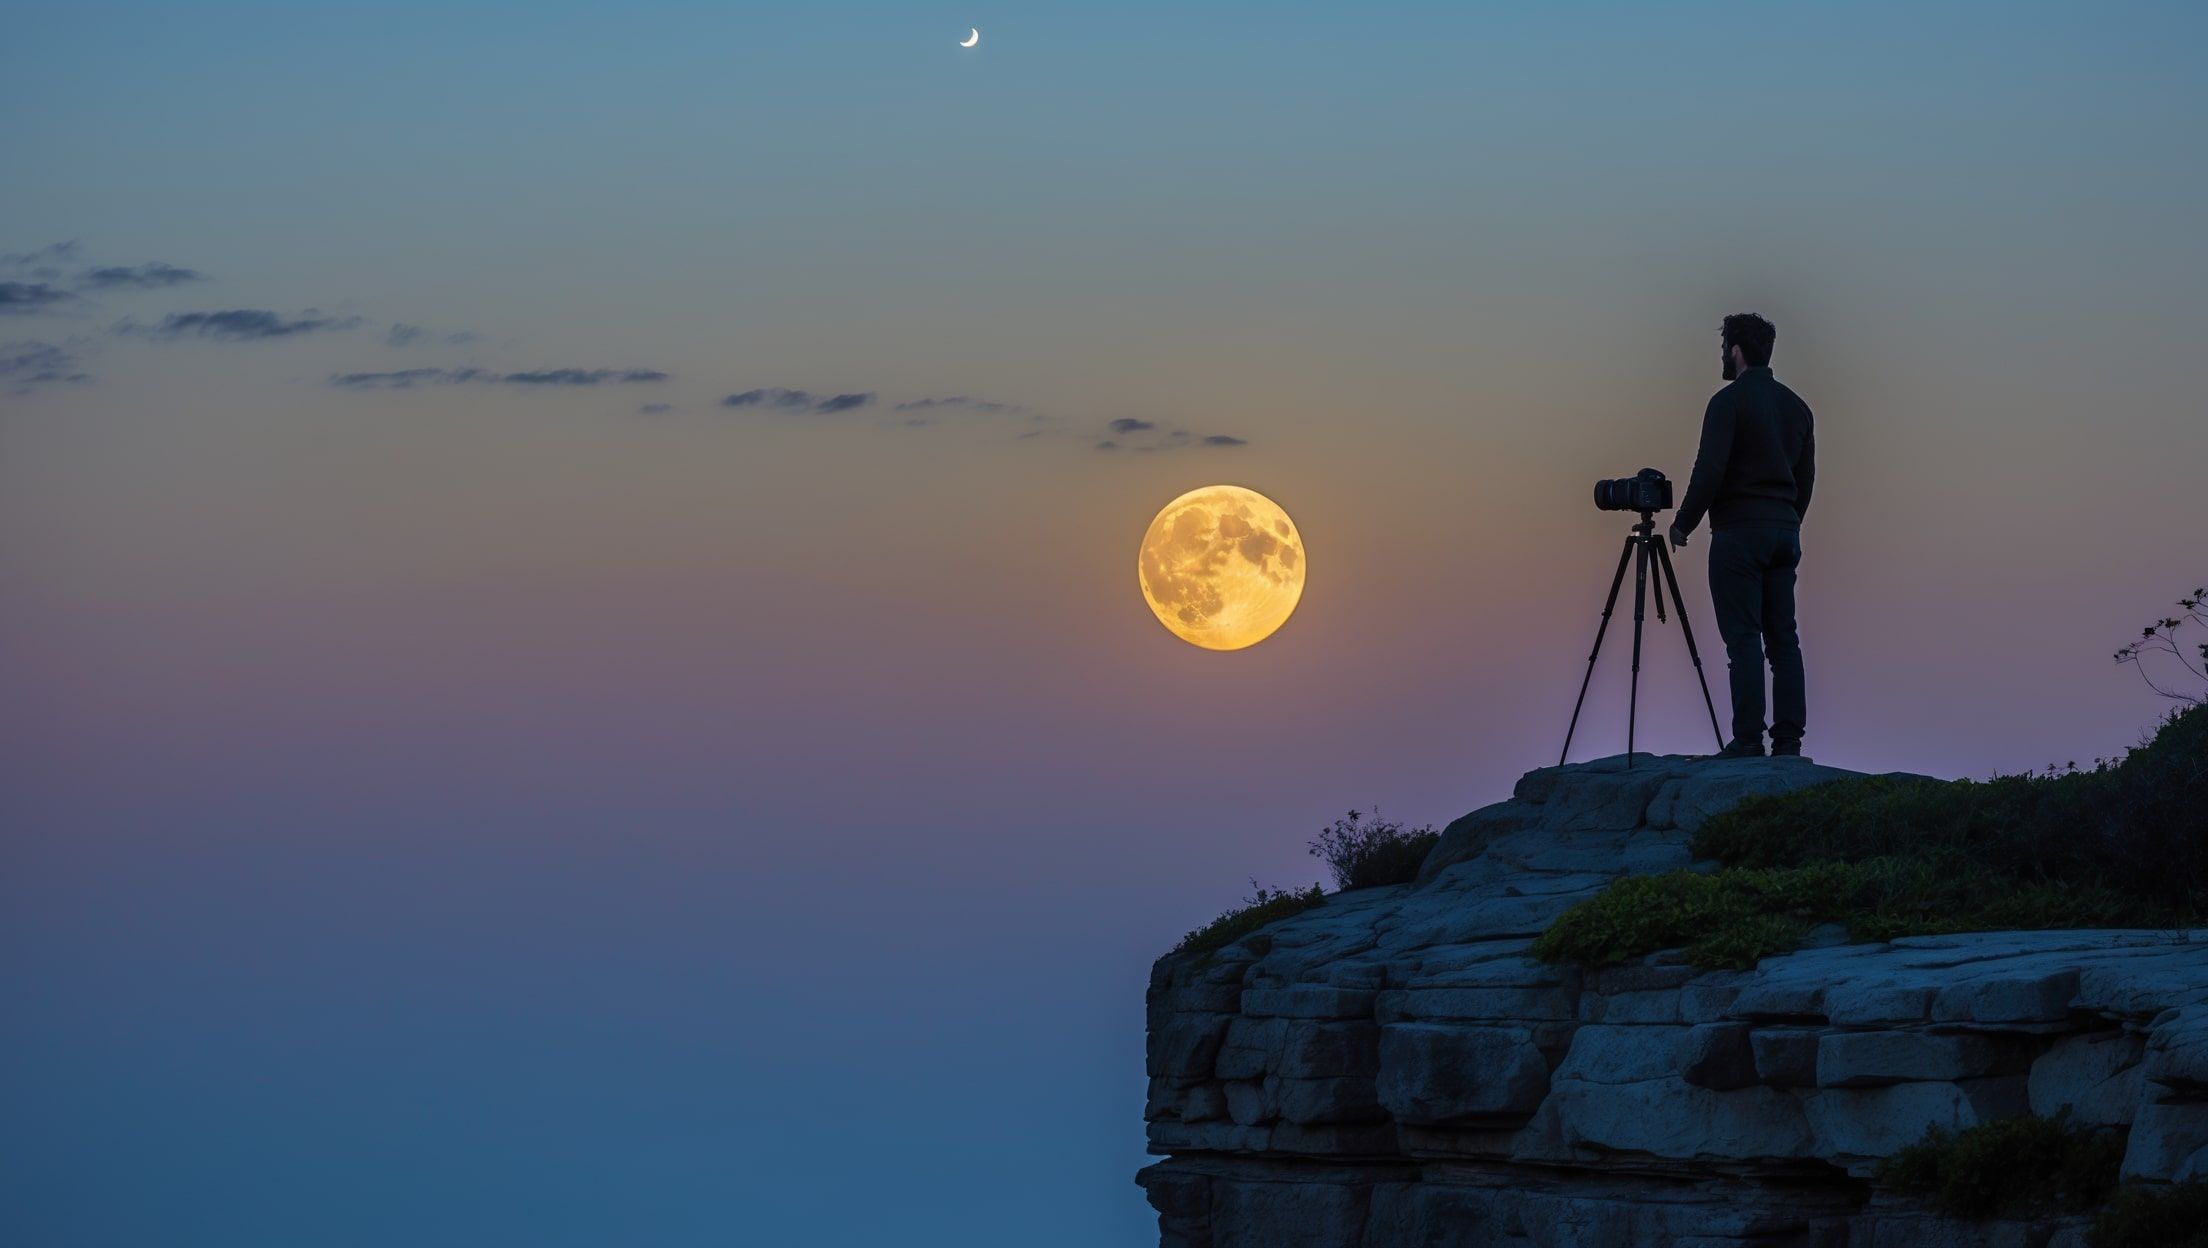
Gear You’ll Want Nearby
You don’t need the fanciest camera on the market. But a little prep goes a long way. Here’s what helps, especially if you’re planning to capture both the landscape and the Moon’s glow against the morning light:
- DSLR or mirrorless camera
- Telephoto lens (200mm or longer)
- Tripod for steady shots
- Remote shutter or timer
- Fully charged batteries
Settings That Work Best
Shooting the Moon requires a balance. Too much light, and you lose detail. Too little, and it’s a blur. Try this as a starting point, especially when referencing the IANA time zone settings for consistent exposure times:
- ISO: 100 to 400
- Aperture: f/8 to f/11
- Shutter speed: 1/125 or faster
- Focus: manual, on the Moon itself
- White balance: daylight
Simple Tricks for Better Results
It’s not all about settings. The scene matters, too. Line up something in the foreground; a tree, a mountain, even a city skyline. This gives the photo context and scale. And don’t wait for the perfect shot. Take a series. The Moon moves quickly once it’s close to setting, especially when viewed across different military time zones.
Why the Best Moonset Shots Feel Personal
Every moonset is different. The colors shift. The Moon’s shape changes. Your angle might never match someone else's. That’s what makes these photos feel more like memories than just images. If you catch the right moment, you’ll know it. You were there; camera or not. For more on what shapes the lunar experience, see how the Moon’s rhythms influence life and tides.